Home > Setup and Contacts > Contacts
Contacts
This lesson covers the basics of working with contacts in SmartOffice.
You'll learn how to use tabs, contact links and drop-down lists, as well as how to customize your button bar with the buttons you use most.
Manage Contact Details
- Search for contacts with the last name Smith (if you forgot how, review the Search lesson.) For this example, assume we're searching for Jane Smith.
- In the list of search results, open Jane Smith’s contact record.
View more information about Jane using the tabs:

- Click the Household tab to view information about Jane’s household.
- Click the Activity Log tab to see a list of calendar activities linked to Jane.
View even more information about Jane using the content links under each tab:

- Click the Contact tab, and then click the Personal content link under that tab. The Personal content link is where the main information about a contact is stored.
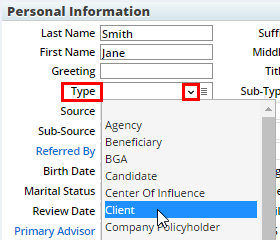
On the Personal content link, select a choice from a drop-down list:
- Find the Type drop-down list.
Click the drop-down arrow and select Client
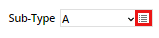
Add a choice to a drop-down list:
In the Sub-Type drop-down list, click the Customize Choice button.
- When the list of available choices appears, click New.
- Type AAA as the name of the new choice, and then click OK.
- Click OK to close the list of drop-down choices.
- Open the Sub-Type drop-down list and select the new choice you added.
- Click the Menu button and select Save.
Familiarize yourself with the Custom Button Bar and the Menu button:
Click the Previous or Next buttons in the Custom Button Bar to browse other contact results from your search is step 1.

- From an open contact record, select Menu > Print to see a printer-friendly version of the page. Then close the print window.
- Select Menu > Integrations to see a list of third-party applications that you can send this contact data into.
- Click one of the third-party applications in the Integrations menu and drag it to the Custom Button Bar. You can drag any item from the Menu and drop it onto the Custom Button Bar to create a shortcut.
- Remove the button you just added to the Custom Button Bar by dragging it and dropping it onto the Menu button.