Home > Setup and Contacts > Browser Setup and Signing In
Browser Setup and Signing In
SmartOffice Pro is compatible with Google Chrome and Internet Explorer 11. Ebix recommends Chrome for the best experience.
Chrome Setup
- If you do not already have Google Chrome, download and install it from the Google Chrome download page.
If you’ve used Chrome before, clear your browser history to make sure you’re starting fresh (it’s a good idea to do this once a week, or whenever you encounter an error using SmartOffice Pro):
- In Chrome, click the More button
 in the upper-right corner.
 Select History > History, and then click Clear browsing data to see your options.
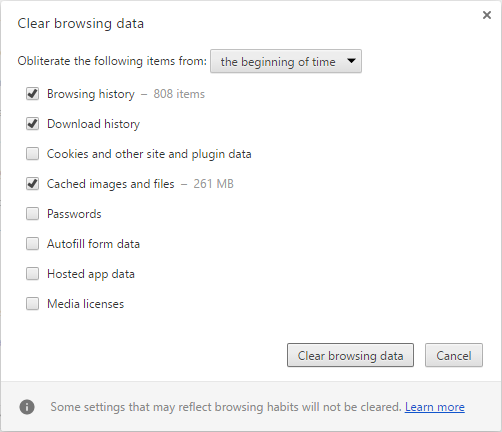
- Select the beginning of time from the time period drop-down list.
- Select the Browsing history, Download history and Cached images and files options.
- Click Clear browsing data.
- In Chrome, click the More button
Sign In to SmartOffice Pro
- In Chrome, go to the SmartOffice for Signator Advisors page.
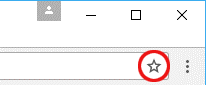
Bookmark the sign-in page by clicking the star in Chrome’s address bar. This will help you access the sign-in page directly in the future.
- Type your office name, user name and password. Note that only your password is case-sensitive.
- Under the Password field, make sure the SmartOffice option is selected.
- (Optional) Select Remember Me to save your office name and user name for future sign-ins (for security reasons, your password is never saved).
- Click Sign In.
If you run into any issues signing it, these troubleshooting tips can help:
- Sign-in errors: If you get sign-in errors, make sure you didn’t add a space after your office name and/or user name.
- Locked account: If SmartOffice locks your user account after several failed sign-in attempts, wait a few minutes for the lock to expire, and then try again.
Check Pop-up Blocker Settings
- In SmartOffice Pro, click the Search button
 at the top of the page.
 - When the list of records appears, click the Menu button and select Print List.
- When the Print Options dialog box opens, click OK.
- If a PDF file opens, your pop-up blocker is already set up correctly, and you’re all set.
- If you don’t see a PDF, go to the next step.
Look for the blocked pop-up icon in Chrome’s address bar.
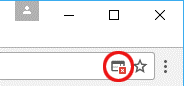
If the icon is present, click it to open a list of blocked pop-up windows.
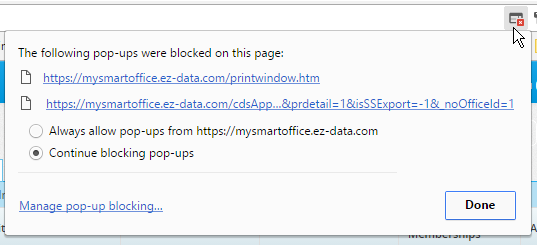
- Select the Always allow pop-ups from option.
- Click Done.